3D Scanned mesh to game ready asset in a few minutes :
Scanning the Blackwald Forest
This is part two of our 3D Scanning Postmortem.
Read part one here.
( or play our game )
What you get out of the 3D scan is a very high density triangulated mesh, that is uv mapped using a very large atlas texture.
What we want is a low poly object, 3k polys max, with a nice uv map, as well as a clean high poly we can use for the bake.
And we want that fast 
Cleaning up the scan :
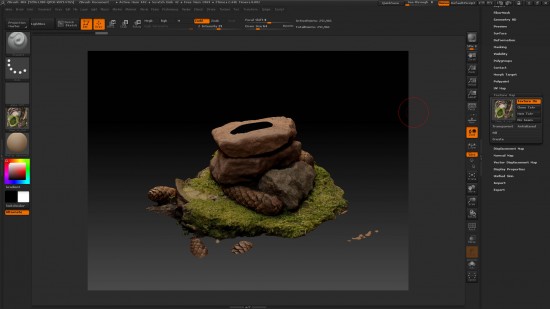
This is what it looks like when imported into zBrush. As you notice, there are some parts flying around, and the scan has a hole in the top.
We’re going to fix that now.

First we applied the bitmap texture and deleted the useless parts by splitting the mesh into subtools.
Then we subdivided the mesh a couple of times, for converting the bitmap texture into a polypaint(vertex map) texture.
Retopology and fixing texture errors :
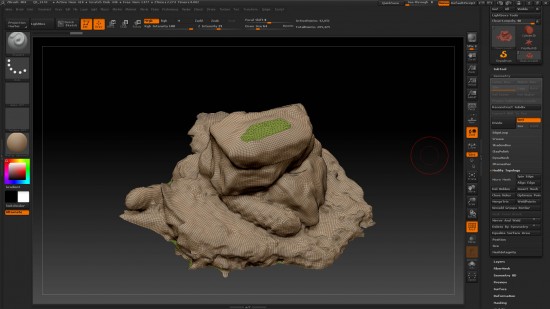
We ran a zRemesh over the scan. This converts the scan into a mesh with better ( all quad ) topology.
It won’t conform entirely to the scan, and will also lose the vertex colors. But we can project that back from the original scan.
Before we do that, now is the time to close the holes in the mesh.
Remeshed with zRemesher :
Projected the polypaint from the scan to the new cleaner scan :

Converting the cleaned mesh into lowpoly :
We duplicated the cleaned mesh, and ran a decimation over it, and brought it down to roughly 1k polys.
After that, we did an automated unwrapping. This works very fine in zBrush. It won’t fill the uv space optimal, but it has little to no seams.
Reduced to 1k polys using decimationMaster :

UVs with zBrush uvMaster :

Baking the texture with Substance Designer :
Substance is amazing when you need to batch through a couple of similar objects. It’s like a node based photoshop that also has every texture baking option available you could think of
We did the node graph once, and then used that as a preset for all objects. It also takes care of downsizing the textures.
What we baked :
- Bake vertex map from high poly onto the lowpoly as a diffuse texture.
- Bake a normal map from the high poly to the lowpoly
- Bake an ambient occlusion map
The rest is blending and color correcting the maps, with some further tweaking of the normal map
Baking and processing in Substance Designer :

Inside Unity we used the Marmoset Shaders on every object and lighted the scene with an very blurred hdr image.
In the end we used some post effects to finetune the look abit.
This is what it looked without post :

And like this after some grading, vignette, and blur :

What went right :
+ Confused village people staring at a bunch of nerd taking pictures of rocks and tree barks – priceless.
+ after we figured out what steps to make, the scanning was rather quickly
+ would have been impossible to get the same level of detail and texture work with traditional modeling/texturing in that short timeframe
What went wrong :
– as usual, could have used some more time to finetune the distribution of level objects
– if the pipeline would have been defined abit earlier, we could have used a lot of automatization.
– was not aware of that unity can actually use LUTs for color correction. We could have graded the scene in Photoshop instead of using Unity’s limited color correction post effect.
None of us had ever done 3D Scanning using Photogrammetry before. Although the result was not optimal in some parts, it’s interesting enough to pursue further, and the LD gave a good kickstart of how to do that and optimize the process even further In total, the entire experience was a blast.
Enjoy our game


